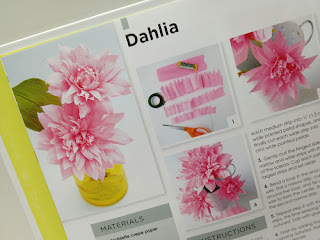

Materials
Pink Floral Adhesive Fabric Paper Stack. - can be bought in Joann /Michaels or Walmart
Headband - found in Joann /Michaels or Walmart
Headband - found in Joann /Michaels or Walmart
Button -2 to 3 - Joann /Michaels or Walmart
Glue gun
Scissors
A small peice of foam 
Step 1. Cut a piece of the fabric paper - an awesome product - into a strip wide enough to cover the headband. Peel of the backing and stick onto the headband.Use 2 pieces or 2 layers if necessary.Fold over and stick the rest onto the back of the headband.Cut next the pink into a 2 inch wide strip and further cut into squares like in picture. Peel of the paper backing of the square and fold over to form triangle as in picture below

Step 2. Fold over the bottom corners of the triangles to form pleats to form petals like shown below.Apply a little glue to stay in place.Create 6-8 petals depending on choice.

 Step 4. Cut a square bit from the paper fabric and peel off the backing and cover the button tightly.
Step 6. Cut a tapered strip from the floral paper to cover and stick to back of headband.Dab glue if neccessary. 
If you like this post you would love my new book "How to make 100 Paper Flowers" 
Now at Barnes and Nobles and in select craft stores.
For a buying a signed copy click here


No comments:
Post a Comment